

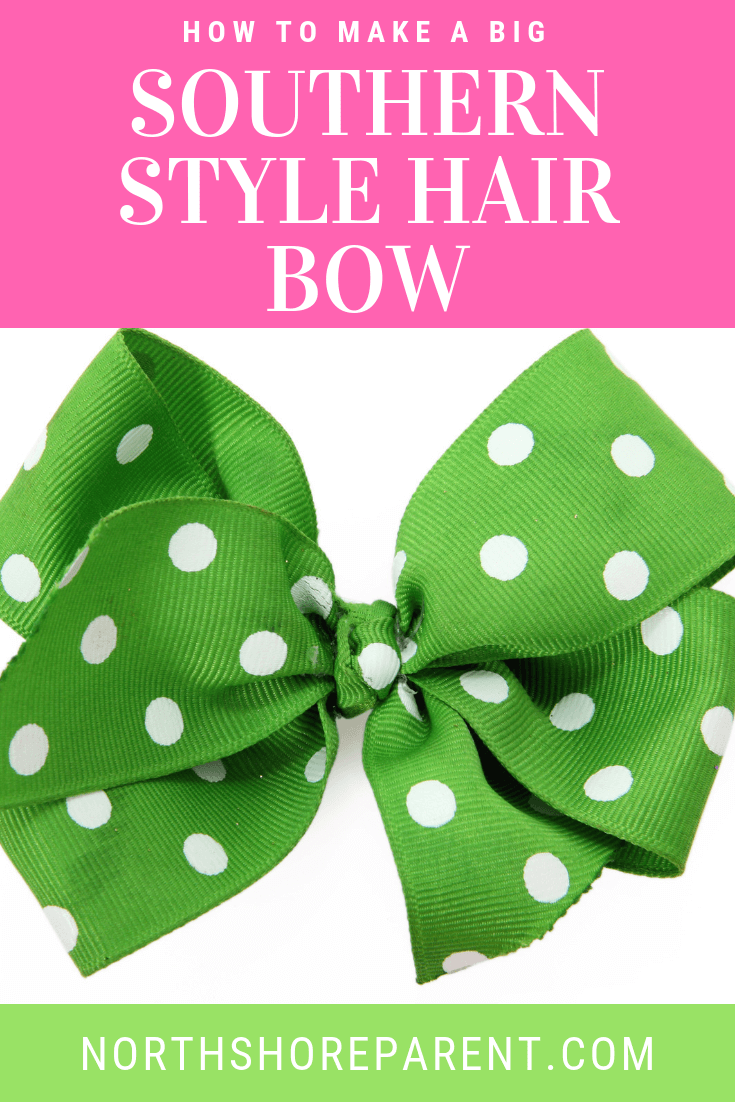
How To Make Big Over The Top Hair Bows
Every bit a lifelong Southerner, I subscribe wholeheartedly to the philosophy of dressing children traditionally. And, every bit the mom of a little girl, that includes a behemothic grosgrain hairbow to match each and every outfit. For the first yr of my daughter'south life, she didn't have plenty hair for a bow simply, as soon as she had enough strands to put in an alligator clip, it was bow-time! Later about 6 months of ownership bows, I idea "hey, I bet I could practise this…" and thus began my journey into bow-making. The first thing I learned was it's a lot harder than it looks (but, like everything, gets easier with practice). The second affair I learned was that most of the tutorials online are for more medium sized bows, not the behemothic bows that are popular in the Southward. Today, I'd like to share my big boutique bow tutorial, to brand a large, 6 inch wide bow.
Materials:
42 inches of 2.25 inch broad grosgrain ribbon (purchased online)
5 inches of ¾ inch broad grosgrain ribbon
ane alligator prune
Needle and thread
Measuring tape
Hot glue gun
H2o soluble marker (optional)
Large hair clip (available at Emerge Beauty Supply)
Scissors
Instructions
Step 1:
Measure and cut your ribbon. Cutting the ends on a diagonal. They'll be rut sealed at the very stop, merely, cutting them on a diagonal too helps forestall fraying.
Footstep 2:
Mensurate v inches from the bottom of 1 end of your ribbon and make a mark. If you don't have a water soluble pen, y'all can fold the ribbon to make crease that will be your guide to keep the loops even.
From the 5 inch mark, measure out a section of 8 inches, and make a mark or a fold. Do this ii more times, then you'll take 3 sections of 8 inches, and one more section at the end that's 5 inches long. The 5 inch sections are your tails, the 8 inch sections are your loops. You can mark them A, B, C, D, and Eastward. I've marked my ribbon for the tutorial but it may be difficult to see. When I brand bows, I commonly but crease my ribbon, merely, for the first few times, it'south helpful to have the marks.
Making the loops
Step iii:
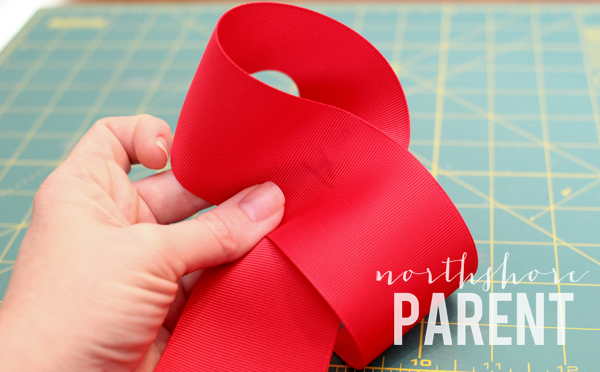
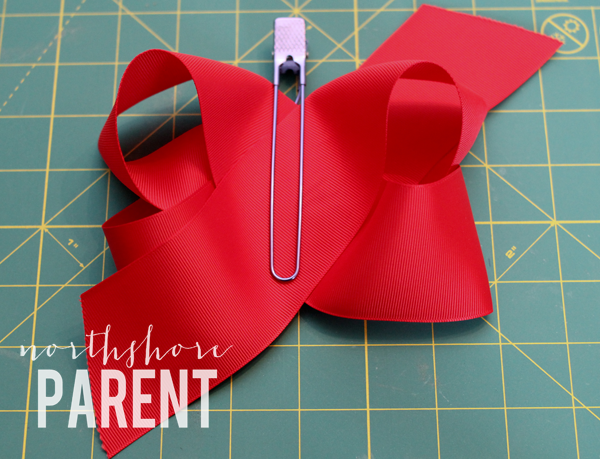
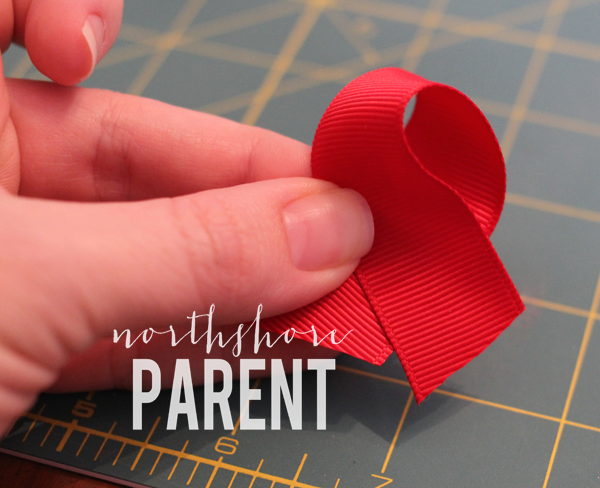
Property the ribbon in your left hand (bold you are right handed), have the first 5 inch section and brand a loop by putting that piece on top of the start eight inch department. If you've marked letters, yous'd put section A on top of department B. This should be at most a 45 caste angle.
Pace iv:
Keeping the starting time loop secure in your left mitt, brand a second loop past placing your next fold/mark over the first one, again at a 45 caste bending. If you're using letters, C will go on top of B. For this tutorial, I've used my large hair clip to secure my ribbon to take the photograph only I find information technology's easier to just concord onto information technology rather than clipping it at each step. Meet how the loops brand a nice, wide X? That's the key to a big, full bow.
Stride five:
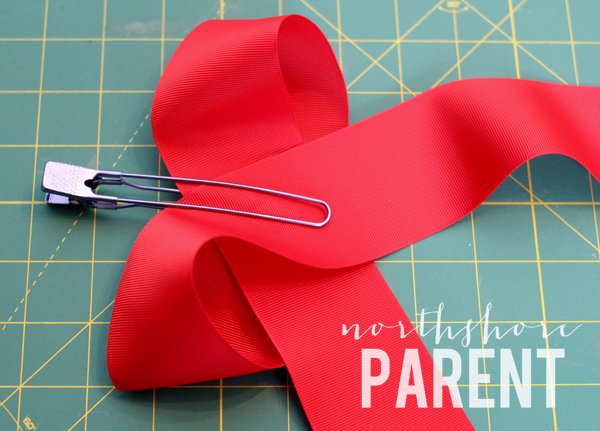
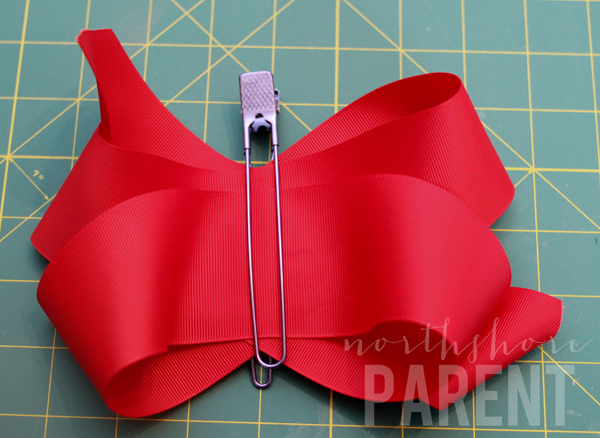
This loop is the trickiest. Instead of your fold/mark going on top like the previous loop, its going to go behind the first 2 loops, nevertheless at a 45 caste angle. Where you've marked D will go behind the sections marked B and C.
Step vi:
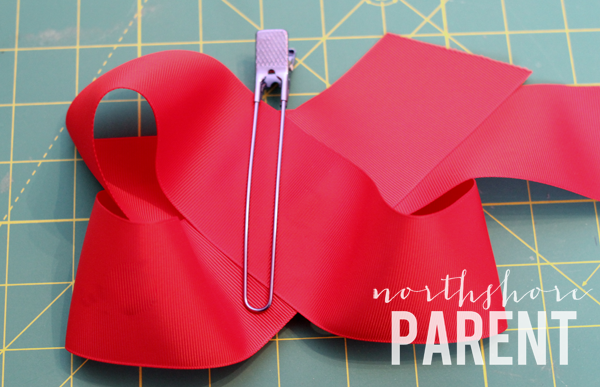
One last loop! This 1 volition come over the top with the last marking or fold, marking off your v inch section, landing correct in the middle.
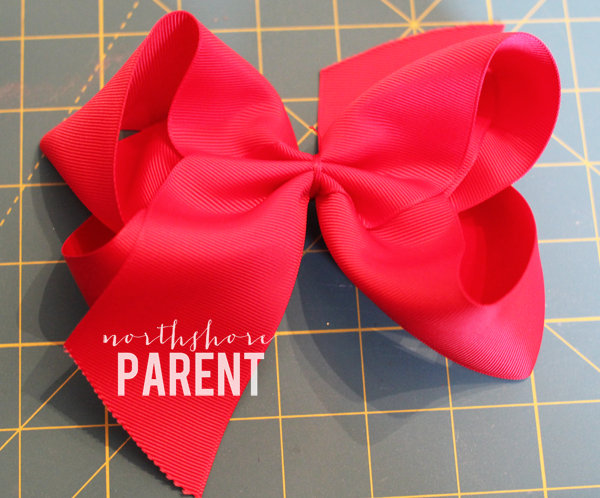
Hey, this is starting to look like a bow, correct?
One good manner to cheque your work is to flip the bow over. While the front should make a dainty big Ten, the back should have pieces of ribbon that are parallel to each other. If they aren't, you tin can adjust things while they are secured with the large hair prune (or in your mitt) to brand them more fifty-fifty.
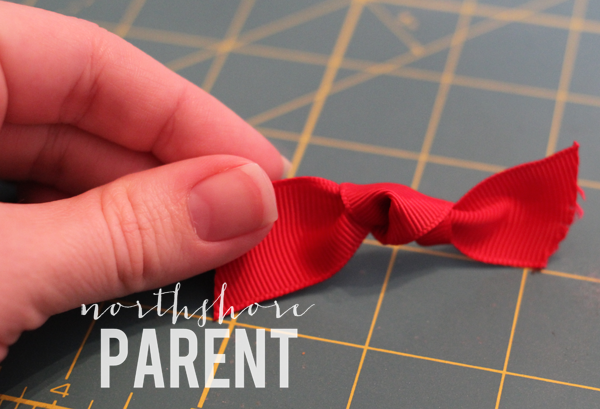
Creasing the center
Step 7:
There are many methods for making the center crease on a bow. What I've found easiest for me is to do an squeeze box fold, past folding it in half, and so making some other fold on the top and on the lesser for 3 folds.
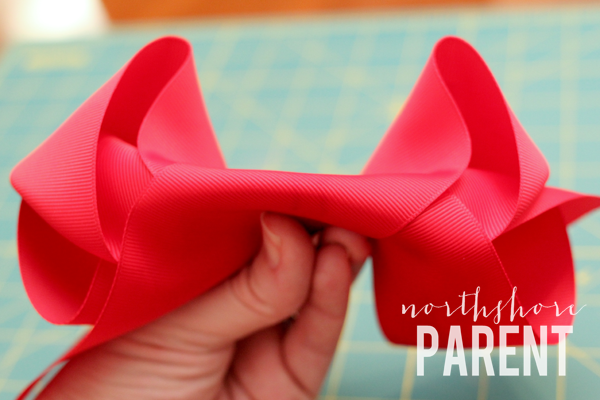
This is simply the start part of the fold. Non enough hands to do the top and bottom creases and take the photo. I detect starting with the middle fold is the best manner to keep things prissy and even.
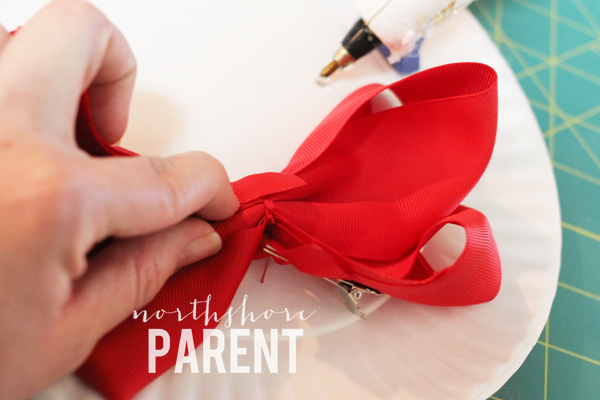
Securing the bow
Step 8:
Once the center is creased into 3 even folds, secure it with the large hair clip.
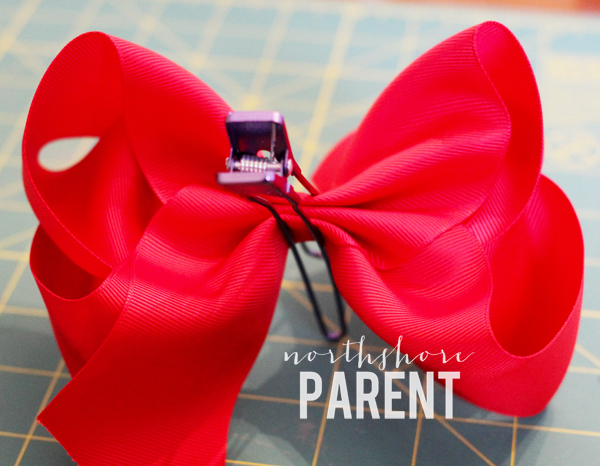
And so, take about 36 inches of thread, double it over through the eye of a needle and knot at the end. Pass the needle through the opening in the pilus prune, then through the thread, making a sideslip knot. While holding the creased bow in your hand, slowly remove the hair prune and so wrap the thread around the center of the bow.
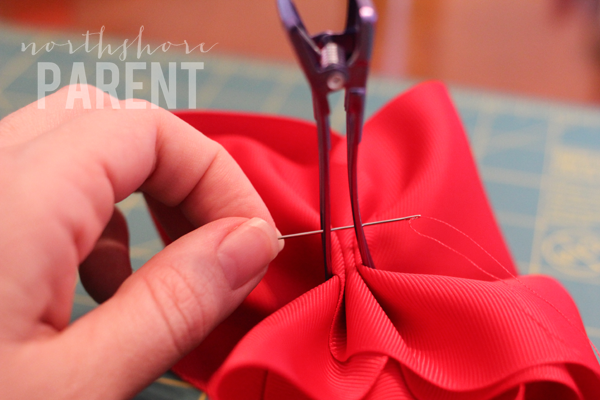
At this point, the thread should exist tight plenty that the fold is secure, but but loose enough that you can accommodate things equally needed. Once y'all're happy with how things look, have the needle and pass it downwardly through the center of the bow at least in one case, simply more than if you lot've got the thread and tie it off.
Wow, this isactually looking similar a existent bow, at present!
Center knot and attaching the prune
Pace 9:
To brand the center knot, you'll utilize your short piece of ¾ inch wide grosgrain. Fold it over (like in the shape of an awareness ribbon) and then into a knot. Before you attach this to the bow, you volition desire to take a lighter or forest-burning tool and heat seal the cease of the ribbon.
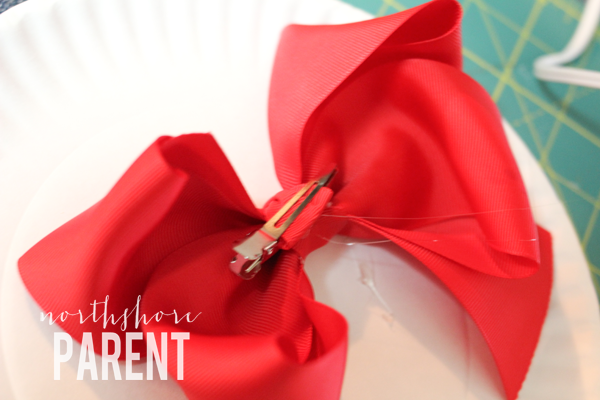
Step 10:
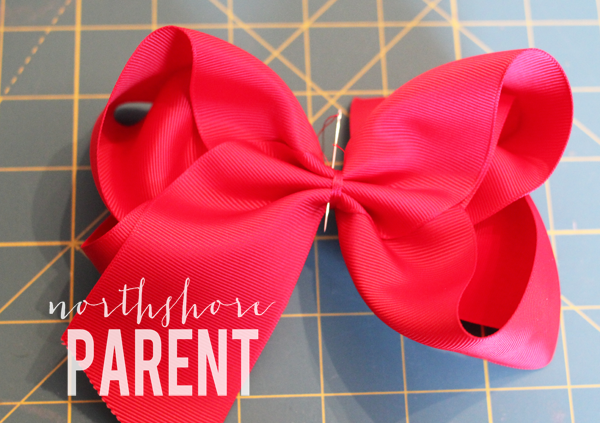
Attaching the alligator clip and the centre knot are all part of the aforementioned process, Place the centre knot in the middle part of the bow, on the forepart. Clip your alligator prune onto the top part. Then, with your hot glue gun gear up, have thelesser part of the heart knot and bring it up and behind the bow and secure information technology with a dot of hot glue.
Once the mucilage is absurd to the touch, attach the top role of the centre knot, by bringing information technology over the top, and securing with a dot of hot glue, making sure that the alligator prune ends up in the middle of the bow, on the back. If you find that you have a little extra ribbon, you may need to fold information technology up and nether when you glue it to the back.
If the tails are a little bit long for yous, cut to desired length, if not, leave them as they are. It's best practice to seal the ends either with a lighter or fray check.
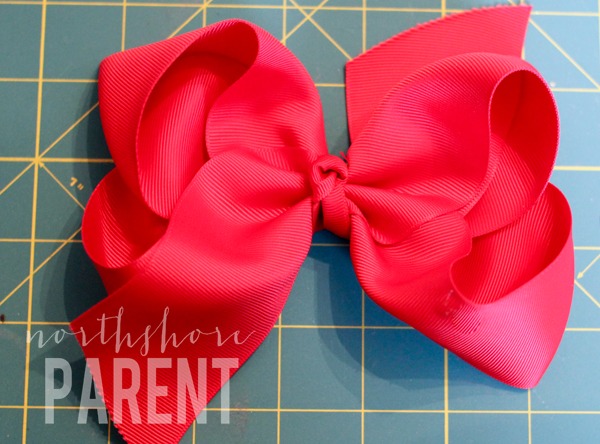
And, just like that, you made a big bow!
Like this postal service? You might likewise like Aimee's tutorial on how to brand a bow organizer to concord all those beautiful bows you lot'll exist making!
The following two tabs change content below.
- Bio
- Latest Posts
Hi, I'm Aimée, the Special Projects Coordinator for Northshore Parent. If there'south a fun giveaway, a kids' clothing review, or a special outcome, there's a adept chance that I'm responsible. I'm a lifelong resident of St. Tammany (except for time at LSU for undergrad and police force schoolhouse) and a mom to 3 lilliputian ones, ages 6, 6 (yes, they are twins, and no, they are not identical) and two. Thanks for reading Northshore Parent and being a part of our community.

How To Make Big Over The Top Hair Bows,
Source: https://northshoreparent.com/make-big-southern-bow/
Posted by: hazenswerown.blogspot.com
0 Response to "How To Make Big Over The Top Hair Bows"
Post a Comment